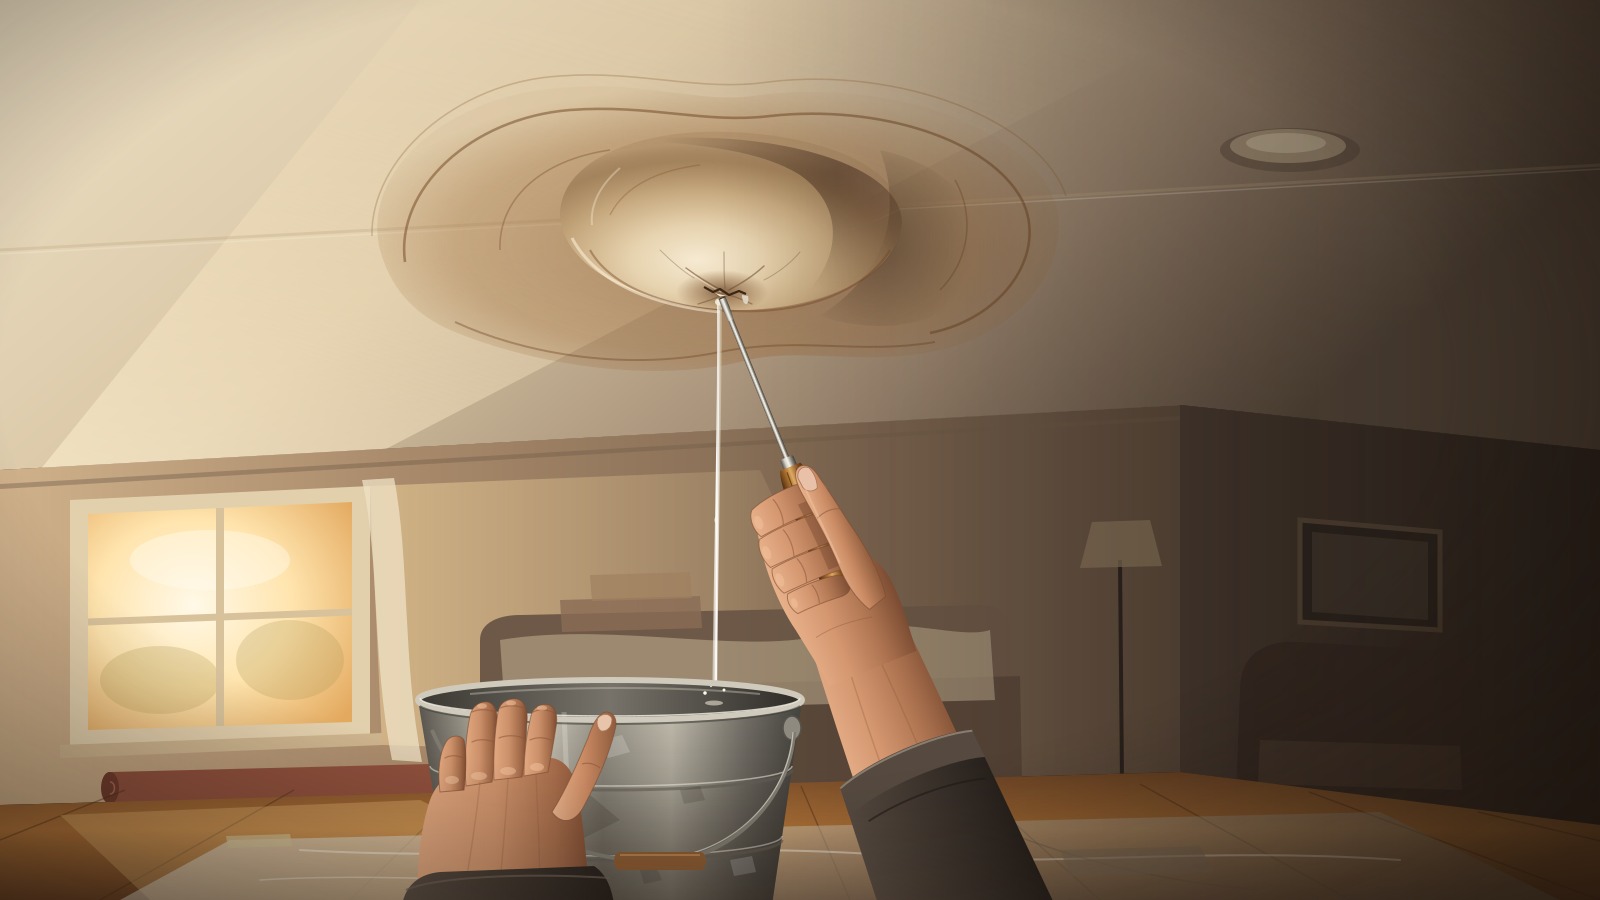
Ceiling leak what to do: the short answer
Ceiling leak what to do, in order: stop the water at the fixture valve or main shutoff, turn off the breaker for that area, set a bucket and drain any bulge with a small screwdriver, photograph everything before cleanup, call your insurer, then dry or remove wet materials within EPA's 24-48 hour window.
-
Stop the source (fixture valve, main water shutoff, or buckets and a roofer for a roof leak).
-
Kill power to the affected area at the breaker.
-
Clear the room and drain any water bubble into a bucket.
-
Photograph and video the damage before you move or toss anything.
-
Call your insurance company.
-
Dry what can be dried and remove what can't, within 24-48 hours.
A brown stain spreading across the ceiling, or a steady drip landing on the coffee table, is one of those moments when it's hard to know where to start. Here's the good news: the next two days mostly decide whether you end up with a drywall patch or a mold job, and most of what matters in that window is stuff you can do yourself.
The clock comes from the U.S. Environmental Protection Agency. Its homeowner guide to mold and moisture (updated Feb. 18, 2026) puts it plainly: "It is important to dry water-damaged areas and items within 24-48 hours to prevent mold growth." The agency's remediation guide adds a caution worth keeping in mind: "Even if materials are dried within 48 hours, mold growth may have occurred." So faster is better, and 48 hours is the outside limit, not a target.
Below is the checklist, hour by hour, then room by room, then the decision every homeowner ends up facing: run the fans yourself or call a crew.
Hour 0: Stop the water
Nothing else matters until the water stops coming in.
-
Plumbing leak from above. If you can tell which fixture is leaking (an upstairs toilet, tub or sink), close its shutoff valve. If the leak keeps going or you can't find the source, PuroClean's ceiling-leak guide says to shut off the main water supply. It's worth finding your main shutoff now, before you need it.
-
Roof leak. You can't turn off rain. A roof-leak guide from Rhode Island Restoration, distributed by Stacker, says to put buckets under the drips and bring in a roofer for emergency tarping. Leave the roof to the roofer, especially while the weather is still bad.
Hour 0: Make the electrics safe
Water and ceiling light fixtures are a bad mix. The same Stacker guide says to "turn off the specific circuit breaker that powers the affected area," or the main switch if you aren't sure which breaker it is. Don't stand under a sagging ceiling or a light fixture that's dripping.
The Electrical Safety Foundation, in flood safety guidance reported by ISHN, says: "Do not use electrical appliances that have been wet until they have been examined by a qualified service repair dealer." It also says circuit breakers, fuses, GFCIs, receptacles, plugs and switches should be thrown out if they've been submerged. If water reached a fixture, outlet or switch, plan on an electrician visit before you turn that circuit back on.
Hour 0 to 1: Deal with a bulging ceiling
If the drywall is sagging or bubbling, water is collecting up there. Hunker explains that "a bubble or droop in drywall ceilings indicates that water is pooling in the ceiling." A controlled drain beats a surprise collapse, so here's how to handle it:
-
Clear the room. Move furniture, rugs, electronics and books out from under the bulge.
-
Set a bucket. Put it right under the lowest point. A tarp underneath helps.
-
Puncture the low point. Hunker says to "hold a bucket beneath the bulged section of ceiling and puncture the bulge to release any water pooling behind it." PuroClean recommends a small screwdriver and says a small hole relieves pressure and helps prevent a bigger collapse.
-
Get it looked at. Hunker also recommends having a professional inspect the ceiling, because its structural integrity may be at risk.
If the ceiling looks like it's about to come down, skip the screwdriver. The Stacker guide says to evacuate when there are visible signs of collapse. Keep kids and pets out of the room.
Hour 1 to 2: Photograph everything before you clean
This is the step people skip, and it's the one that costs them on the claim. The Texas Department of Insurance advises: "If possible, take pictures or videos of the damage before making any repairs." The Stacker guide adds: "Before moving items, take clear photos and videos of all damaged possessions."
A good set of photos includes:
-
Wide shots of each affected room, so the adjuster can see the scope
-
Close-ups of the ceiling stain, bulge or hole
-
The source, if you can see it (a failed supply line, a cracked fitting, a missing shingle)
-
Every damaged item, before you move it
-
A slow video walk-through narrating what happened and when you found it
TDI's other rules for this stage:
-
"Make temporary repairs to protect your house and belongings." Buckets, tarps and drained bulges count.
-
"Don't make permanent repairs until your insurance company sees the damage."
-
"Don't throw away any damaged items until your adjuster has seen them." Stack ruined items in the garage if you have to.
-
"Keep receipts for any materials you bought to make repairs." That includes tarps, buckets and fan purchases.
Hour 2 to 6: Call your insurance company
Don't wait until things are dry. TDI says, "You usually must report water damage that was hidden from view within days after you first see it."
When you call, know how coverage usually splits. According to TDI, "Most homeowner and renters policies cover sudden and accidental water damage," but "most home policies don't cover water damage from gradual leaks or seepage, and that includes damage from mold." A supply line that burst overnight is the first kind. A slow drip that's been staining the ceiling for months is the second.
Mold coverage is narrow. TDI says mold that develops on a damaged item is covered, but most policies don't include mold cleanup and testing after the item is removed. That's one more reason to move fast.
For frozen pipes, the National Association of Insurance Commissioners says policies often cover the resulting water damage if pipes burst, as long as you took reasonable steps to prevent freezing. Damage may not be covered if the insurer finds the plumbing was neglected. If you hit a wall with your insurer, NAIC suggests contacting your state department of insurance.
For a sense of the stakes: Insurance Information Institute figures based on ISO/Verisk data put the average water damage and freezing claim at $15,400 over 2019 to 2023. That's a higher average than wind and hail claims ($14,747), even though wind and hail made up a bigger share of total losses each year. Water damage and freezing accounted for 22.6% of homeowners losses in 2023.
Room by room: what to check and what to toss
Once the water is stopped and the photos are done, walk the house. The EPA's remediation guide has a material-by-material table (Table 1) for water damage caught within 24-48 hours, and it lines up well with a room-by-room pass.
Kitchen and bathrooms (often the source)
Figure out what kind of water you're dealing with, because it changes everything else. Restoration pros use three categories from the IICRC S500 standard, explained in a Restoration & Remediation trade article:
-
Category 1 "originates from a sanitary water source," like a clean supply line, and doesn't pose substantial risk from skin contact, swallowing or breathing it.
-
Category 2 "contains significant contamination" and can cause discomfort or sickness.
-
Category 3 is "grossly contaminated and can contain pathogenic, toxigenic or other harmful agents."
Clean water doesn't always stay clean. The article notes Category 1 "may deteriorate to Category 2 or 3," and odors can be a sign that it has. If the water came from a drain or sewage line, or it smells, treat it as contaminated. The EPA says if the water was sewage or otherwise contaminated, call a professional experienced with buildings damaged by contaminated water.
Attic
If a roof leak or an attic plumbing line soaked the insulation, the EPA's answer is simple: wet cellulose and fiberglass insulation should be discarded and replaced. Don't try to dry it in place.
Ceilings and walls
-
Drywall (wallboard): According to EPA Table 1, it "may be dried in place if there is no obvious swelling and the seams are intact." If it's swollen or the seams have opened, remove and replace it.
-
Ceiling tiles: "Discard and replace." Drop-ceiling tiles that got wet are done.
Bedrooms and living areas
Carpet and its backing need to be dried within 24-48 hours, according to the EPA, using water extraction, dehumidification and fans. The EPA also notes that porous materials such as ceiling tiles and carpet "may have to be thrown away if they become moldy."
Contents
Move electronics, books and furniture out of wet rooms (after you photograph them). Keep any wet appliance unplugged until a qualified repair person has checked it, per the ESFI guidance above.
Hours 6 to 48: Drying it out
For a clean-water leak, PuroClean recommends opening windows and running fans and dehumidifiers. One important catch from the EPA: "Do not use fans before determining that the water is clean or sanitary." Blowing air across contaminated water spreads the problem.
The EPA also notes that professional help "may be needed to dry an area quickly and thoroughly," depending on how big the area is. According to RestoreAdvisor, professional drying typically takes 3 to 5 days, and a technician should use a moisture meter on walls, subfloor and framing to find water that has traveled behind surfaces. That's the part a box fan can't do for you: telling you the inside of the wall is still wet when the paint feels dry.
The decision: box fan or restoration crew?
RestoreAdvisor's rule of thumb: "As a general rule, DIY makes sense for a small Category 1 spill caught and dried within a few hours." Here's how that plays out.
You can probably handle it yourself if:
-
The water came from a clean source (a supply line, not a drain)
-
You caught it fast and the area is small
-
The drywall isn't swollen and the seams are intact
-
No insulation got wet
Call a professional if:
-
Standing water sat for more than a day (RestoreAdvisor)
-
It's Category 2 or 3 water, or it smells (RestoreAdvisor, EPA)
-
Insulation is wet or drywall is swollen, both of which mean removal (EPA)
-
Mold has already shown up over more than about 10 square feet, which is roughly the EPA's limit for homeowner cleanup
-
The ceiling is sagging and you're not sure it's sound (Hunker)
What a fair price looks like
All of the figures below come from RestoreAdvisor (updated July 13, 2026), a single industry-run site, so use them as a gut check rather than a quote.
| Item | Typical cost |
|---|---|
| Mitigation plus basic repairs (whole job) | $1,500 to $7,000 |
| Extraction and drying, overall | $3 to $7.50 per sq ft |
| Category 1 (clean) water | $3 to $4 per sq ft |
| Category 2 water | $4 to $6.50 per sq ft |
| Category 3 water | $7 to $7.50+ per sq ft |
| New drywall and flooring (rebuild) | Adds $20 to $37 per sq ft |
| Nights, weekends, holidays | 25% to 50% premium |
A few things move the quote:
-
Water category. Contaminated water roughly doubles the per-square-foot drying cost compared with clean water.
-
Timing. If the leak is under control and you can wait until a weekday morning, you may avoid the after-hours premium.
-
Your insurer. RestoreAdvisor says insurance-paid jobs are usually priced in Xactimate, the estimating software most insurers use, and some insurers keep networks of restoration companies with pre-negotiated rates. Ask your insurer whether you're required to use a preferred vendor before you sign with anyone.
Who to call, and in what order
-
Plumber or roofer to stop the source. A drying job is wasted if the leak comes back.
-
Electrician if water reached light fixtures, outlets, switches or the panel.
-
Your insurance company within days, ideally the same day, with photos ready.
-
Water damage restoration company if the checklist above tips toward a pro.
Hunker makes the same point about repair order: fix the source first, then the ceiling.
Questions to ask a restoration crew
-
What category of water is this, and how did you decide?
-
Will you take moisture meter readings on walls, subfloor and framing, and will I get a copy?
-
How many days of equipment do you expect, and what's the daily charge?
-
Is there an after-hours or weekend premium on this call, and how much?
-
Do you work with my insurer, and will your estimate be in Xactimate?
-
Which materials are you drying in place, and which are you removing? (Compare their answer with the EPA rules above.)
-
Can I see your license and proof of insurance?
If you can get a clear, written answer to each of those, you're dealing with a crew worth considering. If the answers are vague, get another bid.
Related reading
-
Lumber Hit a Two-Year Low. So Why Is Your Flooring Quote Still High?
-
The Flood Restoration Timeline Facing Hurricane, Utah Homeowners Again
-
How to Blow Out a Sprinkler System Without Cracking the Backflow
Sources
-
A Brief Guide to Mold, Moisture and Your Home (U.S. EPA, updated Feb. 18, 2026)
-
Mold Remediation in Schools and Commercial Buildings Guide: Chapter 4 (U.S. EPA)
-
When are water damage and mold covered by insurance? (Texas Department of Insurance)
-
Will My Homeowners Insurance Policy Cover Water Damage From a Burst Pipe? (NAIC, Feb. 8, 2024)
-
Facts + Statistics: Homeowners and renters insurance (Insurance Information Institute)
-
The Standards of Our Time: Applying IICRC Categories of Water to a Job Situation (Restoration & Remediation, 2007)
-
Water Damage Restoration Cost (RestoreAdvisor, updated July 13, 2026)
-
What are the first steps after discovering a roof leak? (Stacker via KEYT, July 30, 2026)
-
How To Repair A Bulging Ceiling (Hunker)
-
Ceiling Leak? Here's What to Do Immediately (PuroClean Coral Gables)
-
ESFI Provides Safety Tips in the Aftermath of Floods (ISHN, Oct. 13, 2015)
Note: This article contains AI-assisted content and has been reviewed by our editorial team.
ABOUT THIS SERVICE: CallTheLocal.com is a directory and lead generation service, not a contractor or service provider. Submitting this form does not obligate you to hire anyone or purchase any service. Your information will be shared with licensed, insured home service professionals in your area who may provide quotes for your project. CallTheLocal.com does not guarantee the quality, timeliness, or outcome of any work performed by service providers you connect with through this service. Always verify licensing, insurance, and references before hiring. Get everything in writing before work begins.