If you have spent any time on home-improvement podcasts or wandered the insulation aisle at a big-box store lately, you have probably noticed two-part spray-foam kits getting a lot more attention. The team at Fine Homebuilding has revisited DIY kits several times, and a more recent segment on when spray foam makes sense (and when it does not) keeps drawing listener questions. Van-life builds and ADU projects have pushed the kits even further into the spotlight.
The pitch is simple: pay a few hundred to a few thousand dollars, point a gun at your rim joists or a wall cavity, and walk away with the same air-sealing R-value insulation a pro would have charged you a lot more for. Sometimes that pitch holds up. Often it does not. Here is a clear-eyed look at what a kit actually is, what it costs, and the four ways homeowners most commonly turn a $1,000 project into a much larger problem.
What a DIY spray-foam kit actually is
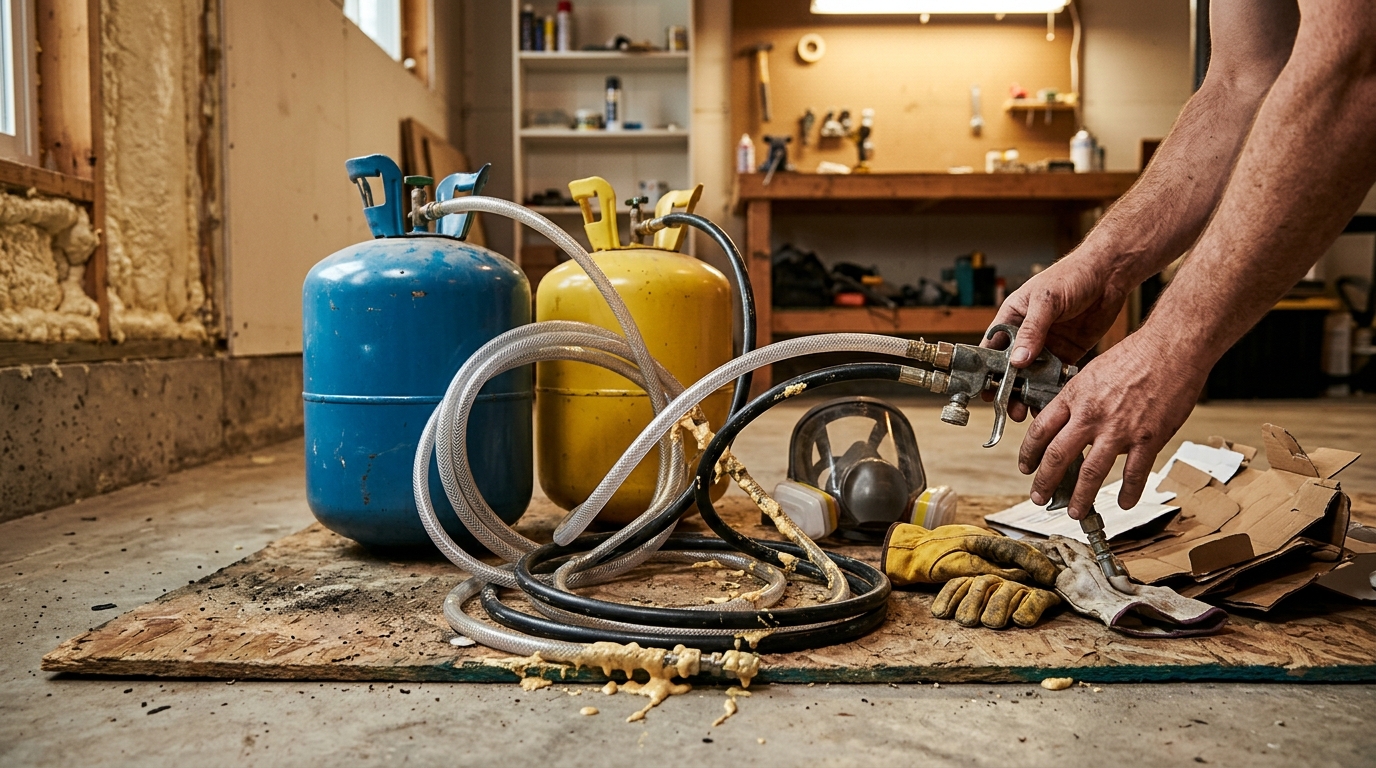
A kit is two pressurized tanks (A-side isocyanate and B-side polyol resin), a heated hose, and a spray gun. When the two chemicals meet at the tip in a 1:1 ratio, they expand and cure into closed-cell or open-cell foam. If that ratio drifts off, the foam never fully cures, which leaves sticky surfaces, lingering odor, and ongoing off-gassing.
Coverage is sold in board feet (one square foot at one inch of cured thickness). Per HomeGuide's 2026 pricing breakdown, the common tiers look like this:
-
Small closed-cell kits: 200 to 750 board feet, roughly $300 to $850.
-
Open-cell kits: 300 to 1,350 board feet, roughly $400 to $1,200.
-
Larger pro-grade kits: push toward $2,000 or more.
One thing the board-foot number hides: real-world cavity depth eats coverage fast. A 600-board-foot kit only covers 200 square feet at 3 inches, which is a much smaller area than the box suggests. RetroFoam of Michigan covers the hidden-cost framing well from a contractor's perspective.
The honest price comparison
Professional spray foam runs about $0.44 to $0.65 per board foot for open-cell and $1.00 to $3.10 per board foot for closed-cell installed, with the overall typical range landing at $1.50 to $5.00 per board foot. Those figures come from Spray Foam Calculator's 2025 chart and are corroborated by HomeAdvisor's 2025 cost guide.
So when does the math actually favor DIY? On a small, well-scoped job, a $400 kit can be cheaper than hiring a pro for the same square footage. On a big job, the per-board-foot economics shift toward the contractor, because pros buy chemistry in bulk and amortize setup time across the whole house. The kits earn their keep on tightly scoped work, not whole-envelope projects.
Failure mode 1: substrate temperature
Manufacturers specify a substrate temperature window around 60 to 120 degrees Fahrenheit, and closed-cell foam should not be applied when ambient temperature is within roughly 5 percent of the dew point. A 55-degree basement wall in March will not give you good adhesion, and a wall that is right at dew point will let the foam shrink or pull away from the substrate.
This is the most common failure point for DIY homeowners working in spring or fall, because they pay attention to outside air temperature but never check the actual surface temperature of the wood, concrete, or sheathing they are spraying.
AI workflows for revenue teams
Placeholder house ad for Conservus.ai. Swap with final creative when brand assets are ready.
Partner with Conservus.aiFailure mode 2: off-ratio mixing
The two tanks have to deliver chemistry at the same pressure and the same temperature. Cold tanks, or tanks warmed unevenly (one sitting near a space heater, one against an exterior wall), will push out an off-ratio mix. R-Value Associates and other industry sources note that off-ratio output produces foam that never fully cures.
You cannot fix this after the fact. Sticky foam, persistent chemical odor, and slow off-gassing mean tear-out, not a touch-up. SCS Foam puts it plainly: DIY kits cannot actively monitor ratio or pressure mid-spray, so even careful prep cannot eliminate this risk.
Failure mode 3: the mid-can pause
Chemistry sets inside the hose and tip once it starts flowing. Stop for a long phone call, run out of a cavity to spray into, or take a lunch break, and the gun can clog. Restarting a stalled kit is one of the most common reasons listener-submitted kits end up half-used. Plan to spray the kit end to end, not in two sessions a week apart.
Failure mode 4: skipping the vapor and dew-point check
Closed-cell foam is a vapor retarder. In hot, humid climates, putting it on the inside face of the wall can trap exterior moisture against the sheathing. 475 High Performance Building Supply walks through how a counterproductive vapor retarder can shift the dew point right onto the sheathing face.
Open-cell foam in cold climates has the opposite problem: interior humidity can pass through and condense on cold sheathing. GreenBuildingAdvisor's guidance on cold-climate ratios covers how to think about closed-cell thickness in Zones 6 and 7, and why climate zone matters more than R-value alone.
AI workflows for revenue teams
Placeholder house ad for Conservus.ai. Swap with final creative when brand assets are ready.
Partner with Conservus.aiHealth, isocyanates, and what the PPE actually requires
This is the part homeowners under-equip for. The EPA documents that inhalation exposures during SPF application typically exceed OSHA occupational limits, and isocyanates are a leading chemical cause of work-related asthma. A paper dust mask does not cover this. The EPA's PPE guidance calls for a supplied-air or full-face respirator, full skin coverage, eye protection, and a manufacturer-specified re-entry waiting period before anyone returns to the space.
If you cannot stage the PPE, ventilate the space, and keep family members out for as long as the kit instructions require, the project is not ready to start.
Where a kit is defensible
The clearest win is rim joists. Foam It Green's project guide describes targeting roughly 1/3 inch of wet foam that expands to about 1 inch of closed-cell, creating an effective air barrier in a small, accessible cavity. Fine Homebuilding's rim-joist guide backs this up as a legitimate DIY scope.
Other reasonable kit jobs:
-
A single van-conversion cavity in a controlled garage.
-
Sealing a small mechanical chase.
-
One or two stud bays where a pro install would be overkill.
The common thread: small, accessible, single-bay scope, with substrate temperature you can actually control.
Where to put the gun down and call a contractor
-
Attic decks and unvented roof assemblies.
-
Exterior wall cavities tied into the conditioned envelope.
-
Anything in a hot-humid climate where closed-cell vapor strategy is non-trivial.
-
Any job big enough that two or more kits would be needed back-to-back.
These are the jobs where a failed install is expensive to undo and easy to get wrong.
AI workflows for revenue teams
Placeholder house ad for Conservus.ai. Swap with final creative when brand assets are ready.
Partner with Conservus.aiTear-out reality
If the foam goes bad, it has to come out. Removal pricing typically runs $1.50 to $3.50 per square foot, with complex tear-outs reaching $2 to $8 per square foot, plus disposal and any framing or sheathing repair the foam damaged on the way out. On a kit job gone wrong, total remediation can easily run several thousand dollars, and in some cases land in the $6,000 to $12,000 range once substrate repair is included.
Put another way: a $600 kit can become a $7,000 problem if it fails on an exterior wall.
Regional callout: humid climates fail fastest
If you are in the Gulf Coast, the Southeast, or Florida, DIY closed-cell foam on a conditioned wall assembly is the highest-risk version of this project. Humid climate zones do not forgive vapor-retarder mistakes, and the substrate-temperature-versus-dew-point math gets tight for much of the year. In those markets, the right move is almost always a local contractor who installs spray foam every week and carries the equipment to verify mix ratio and substrate temperature on the job.
A short decision checklist before you buy a kit
-
Scope: Is this a rim joist, a single bay, or a small chase? Good. A full attic deck? Stop.
-
Substrate temperature: Can you measure the surface (not air) temperature and keep it in the 60 to 120 degree window?
-
Dew point: Is the surface comfortably above dew point, not within a few degrees of it?
-
Climate zone: Are you using the right chemistry for your zone, with a real vapor strategy?
-
PPE and ventilation: Do you have supplied-air or full-face respiration, full skin coverage, and a plan to keep people out of the space for the manufacturer-specified period?
-
Continuous spray plan: Can you spray the kit end to end without long pauses?
-
Exit plan: If a can fails mid-spray, what is your next step?
If you cannot check all of those boxes, this is the project to hand to a pro. The kits are real tools, and they have a real place. They are just not a shortcut around the parts of spray foam that make spray foam work.
AI workflows for revenue teams
Placeholder house ad for Conservus.ai. Swap with final creative when brand assets are ready.
Partner with Conservus.aiRelated reading
Sources
-
475 High Performance Building Supply: Vapor retarder failures
-
Coohom: Spray foam removal cost
Note: This article contains AI-assisted content and has been reviewed by our editorial team.
ABOUT THIS SERVICE: CallTheLocal.com is a directory and lead generation service, not a contractor or service provider. Submitting this form does not obligate you to hire anyone or purchase any service. Your information will be shared with licensed, insured home service professionals in your area who may provide quotes for your project. CallTheLocal.com does not guarantee the quality, timeliness, or outcome of any work performed by service providers you connect with through this service. Always verify licensing, insurance, and references before hiring. Get everything in writing before work begins.